The custom 3D printed case provides a good grip and fits an AirPods Pro case snugly.
Design, CAD, 3D printing
Nov. 2020
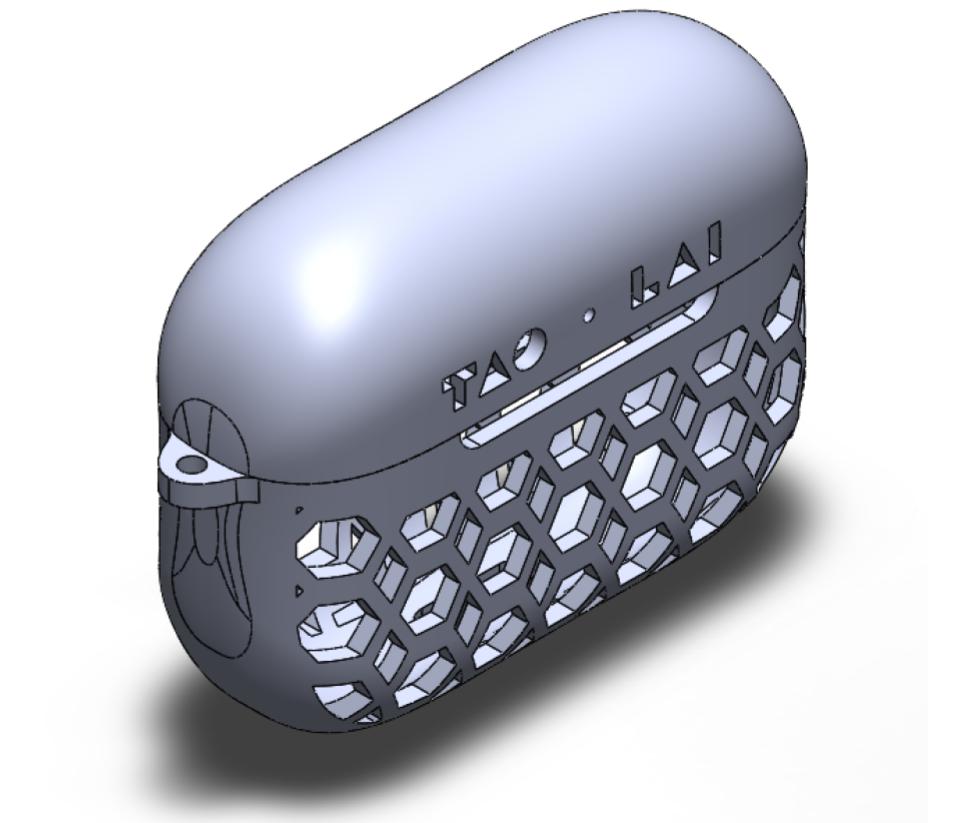
Rapid Prototyping is a manufacturing technology that is used to quickly produce complex objects directly from a computer model. This is usually done by “3D printing” or additive manufacturing. As fun and also because my housemate needed an AirPods case, I decide to try out rapid prototyping to produce multiple iterations of a case that I designed for an Airpod Pro earbuds case. Between iterations, I incorporated user feedback to improve my design. The printer I used was a Monoprice Mini Select V2 (which is not the best, but it works!)

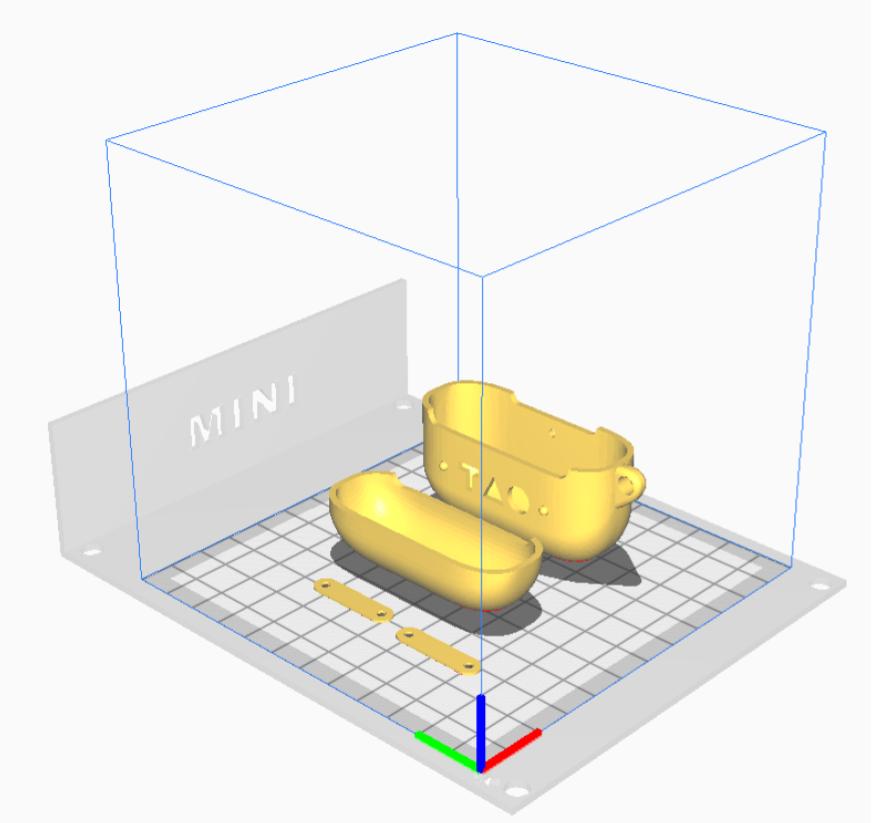
I first started by hand-sketching various designs, which included a hole where the user can attach a keychain, a connection to keep the two parts of the case together, and some type of texture to add to grip. I modeled the designs in Solidworks, where I could convert the file into an STL and slice it into gcode with Cura.
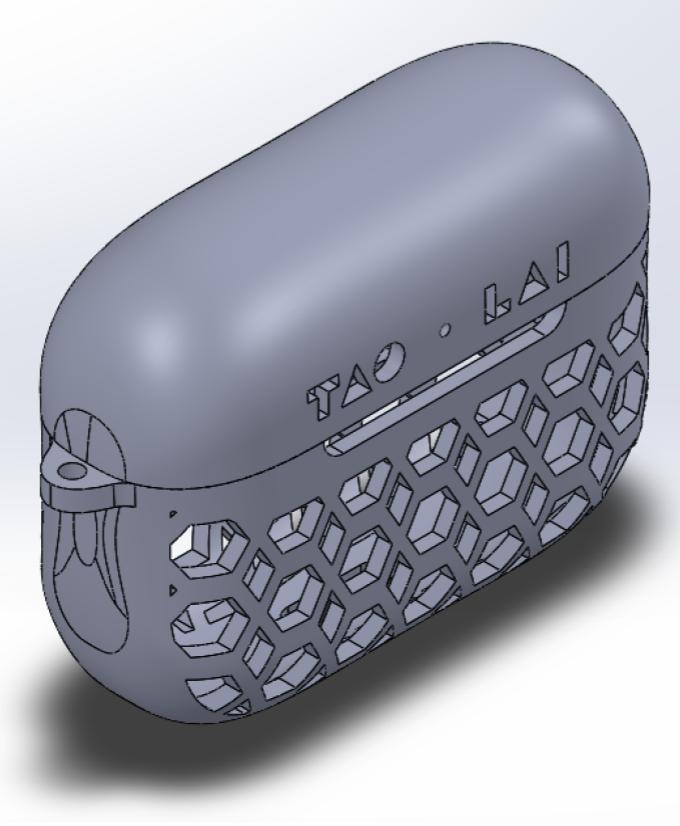
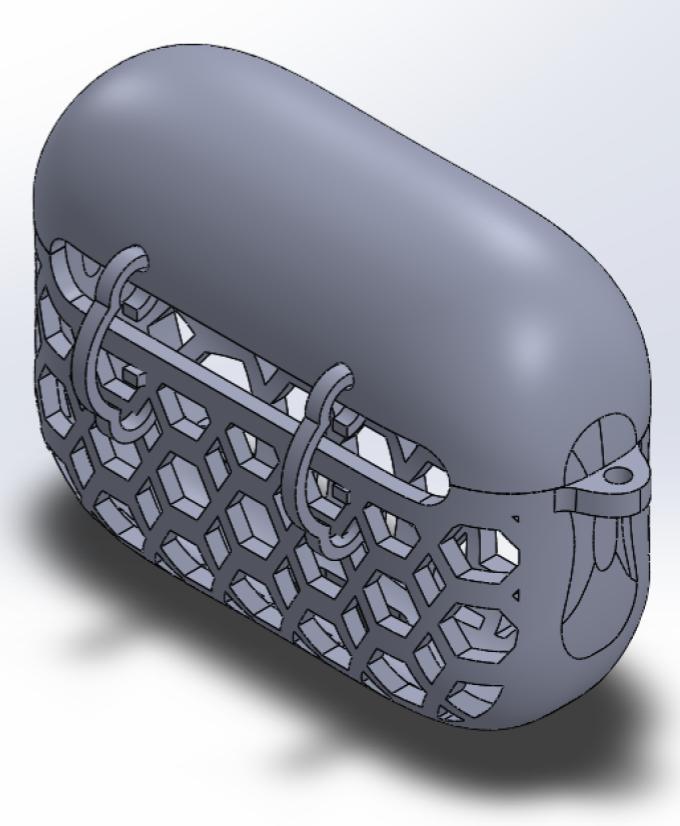
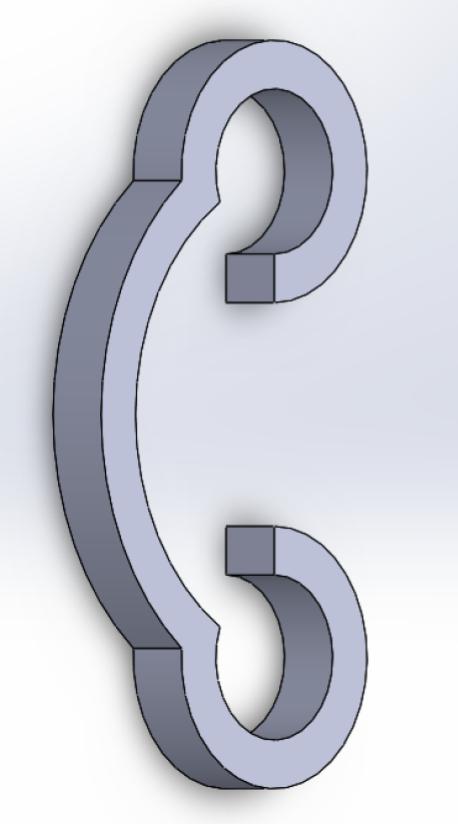
Getting a good result took many tries - to be more specific, I did five iteration of the print to get it the way I wanted. The first version of the design was actually a couple of iterations of a simplified version of the case to figure out correct dimensioning. The print was done mostly with default settings: 0.175 mm layer height, 10% infill, 200 °F print temperature, 60 °F build plate temperature, and 50 mm/s speed, support enabled, brim adhesion. After the first print, which was too loose, the dimensions were tweaked in CAD. The result of the second print was satisfactory in that the case fit the Airpods snugly
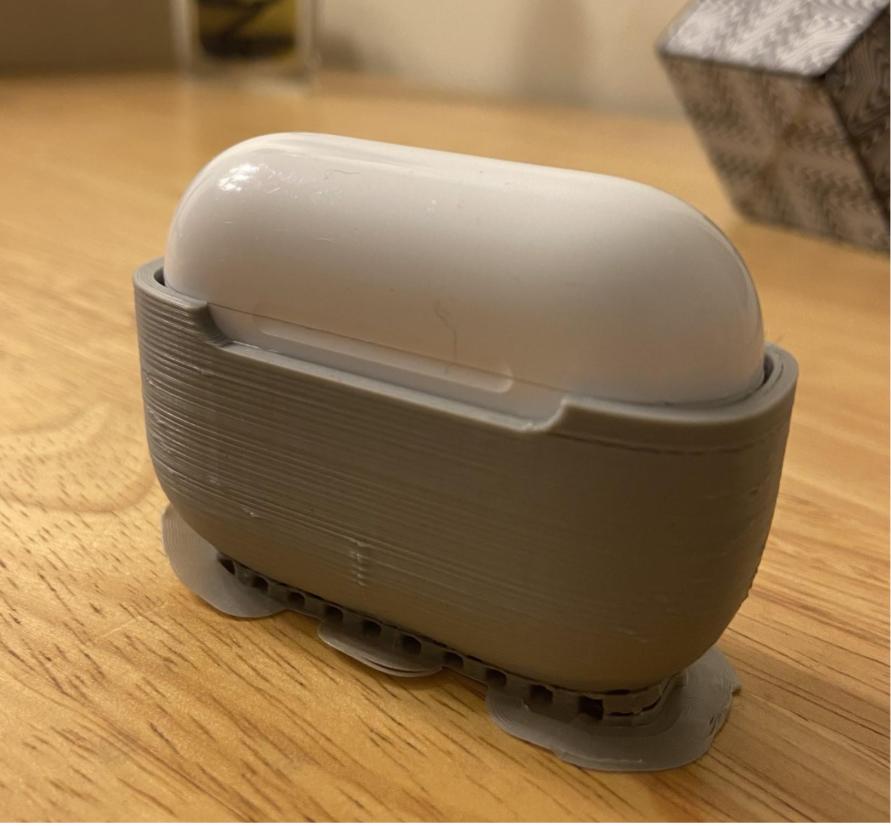
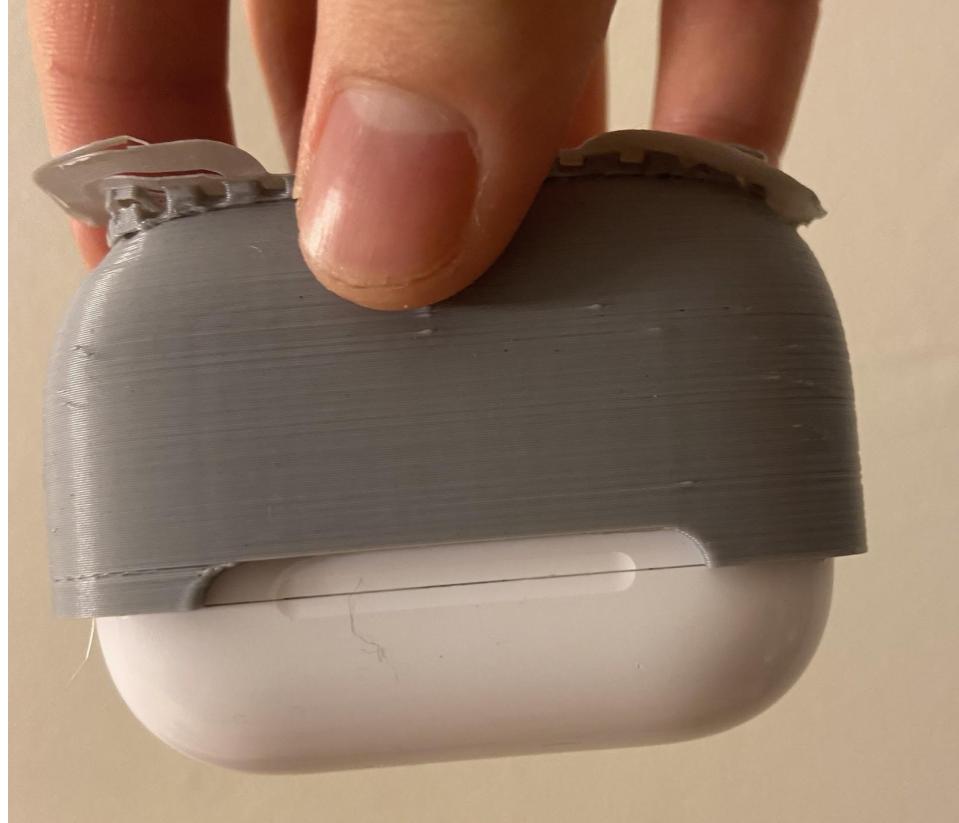
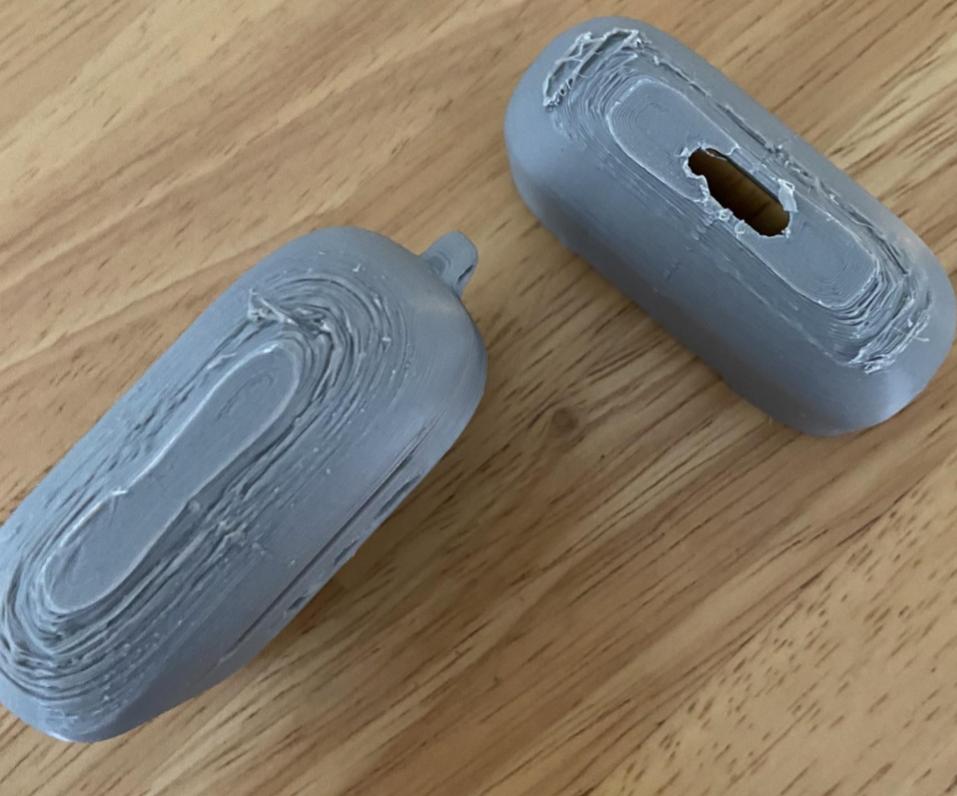
In the second iteration of the design, I added details such as a personalized cutout of the user’s name, as well as a tab for attaching a keychain. The print settings remained the same, and the print orientation was so that the curved surfaces were at the bottom. This resulted in a rougher finish after support was removed. After this iteration, I realized that the fit of the case was snug, but a bit too square. The hole for the keychain was also too small, and the case could not open fully without interference–the cutouts at the joint were not long enough.
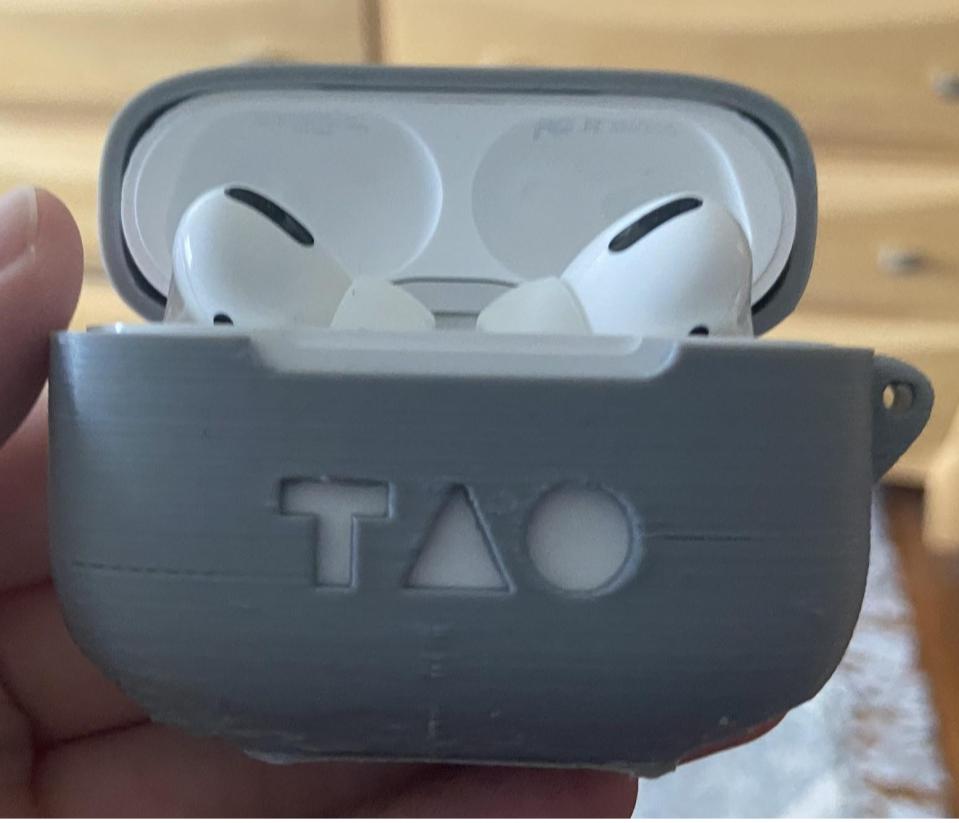
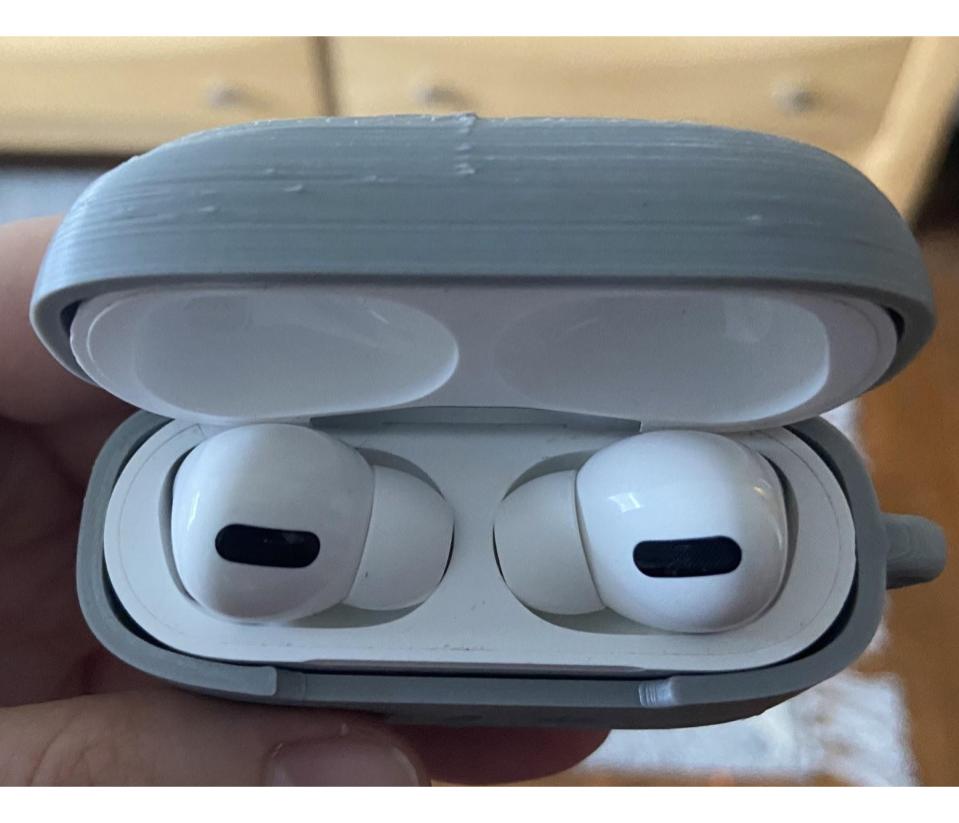
Version 3 of the design incorporated feedback from Version 2. The edges were rounder, the keychain hole larger. An important change made from user feedback was including a hole to see the charging light, to which in turn I put the name at the back of the case for aesthetic balance. This was also the iteration in which I tested out the force-fit assembly method. Unfortunately, the nubs were too short, and the connector did not remain connected for long. Almost the same print settings were again used, except that support structures were eliminated for the round. Unsurprisingly, the resulting finish was worse than in the second iteration.
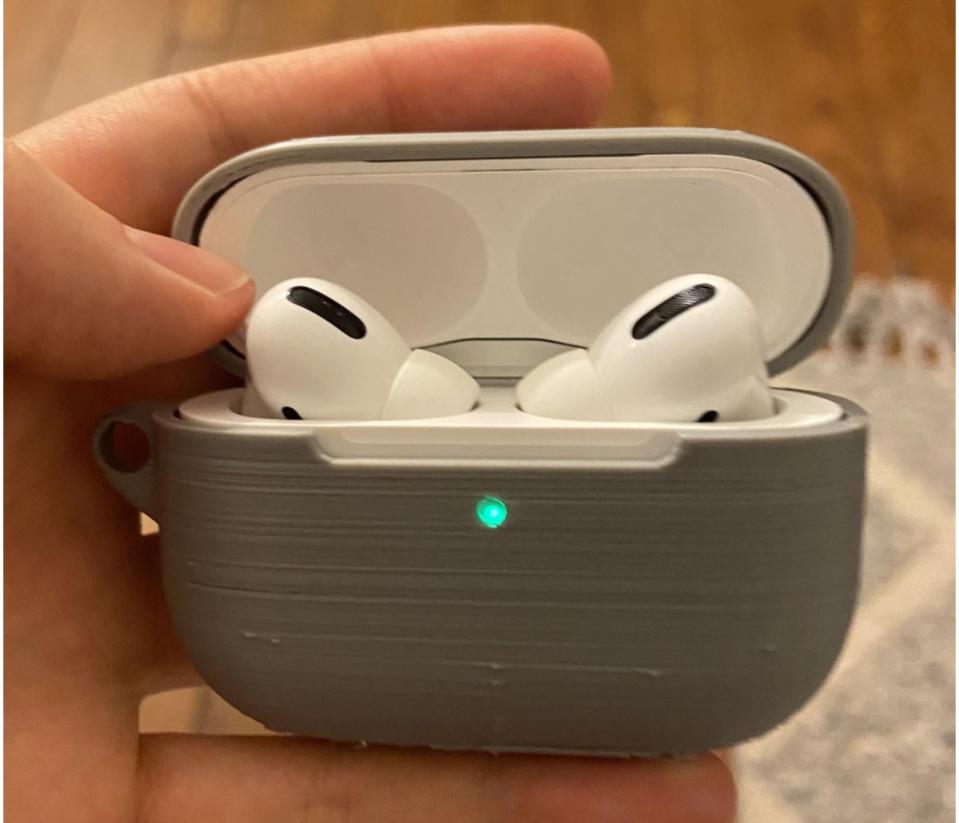
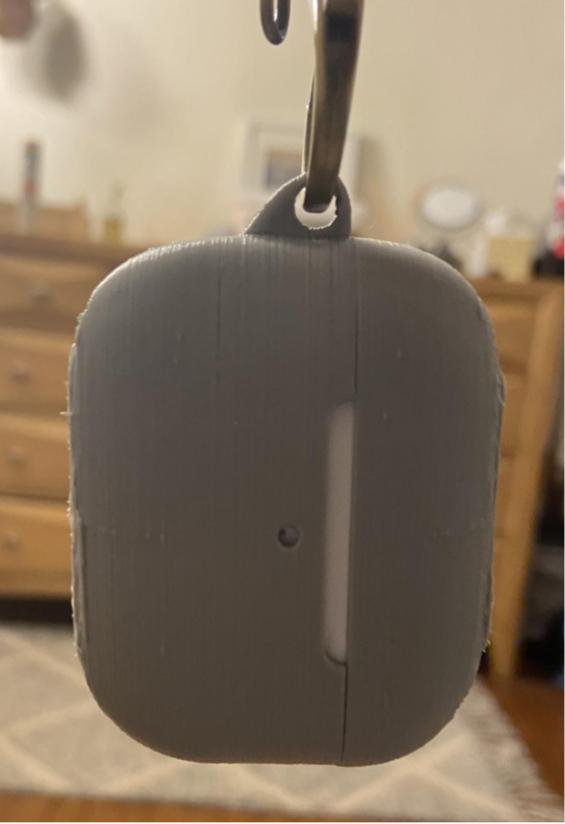
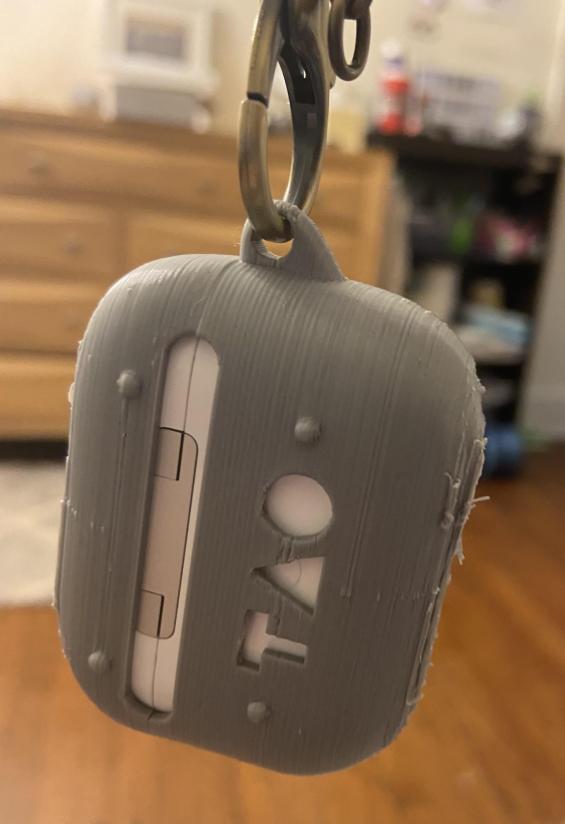
In the fourth iteration of the design, the connection method was switched to hooks, and geometric cutouts were added to help with grip and to make the design look cooler. According to user feedback, the PLA was a bit too smooth and slippery. The name cutout was moved to the top piece, and the hole for the charging light was rendered unnecessary. The new hook connection worked well. It successfully held the case parts together without the Airpods. One improvement in the print was that the outer surface finish at the curves was much smoother, thanks to Professor Beltran’s advice for changing the print orientation. The print took much longer, about four hours, and the support material was easily removable with pliers. On the downside, the print quality of the cutouts was not great. There were many bumps from where the print head would start a new layer, the Z-seam, and they looked aesthetically unpleasing to the user.
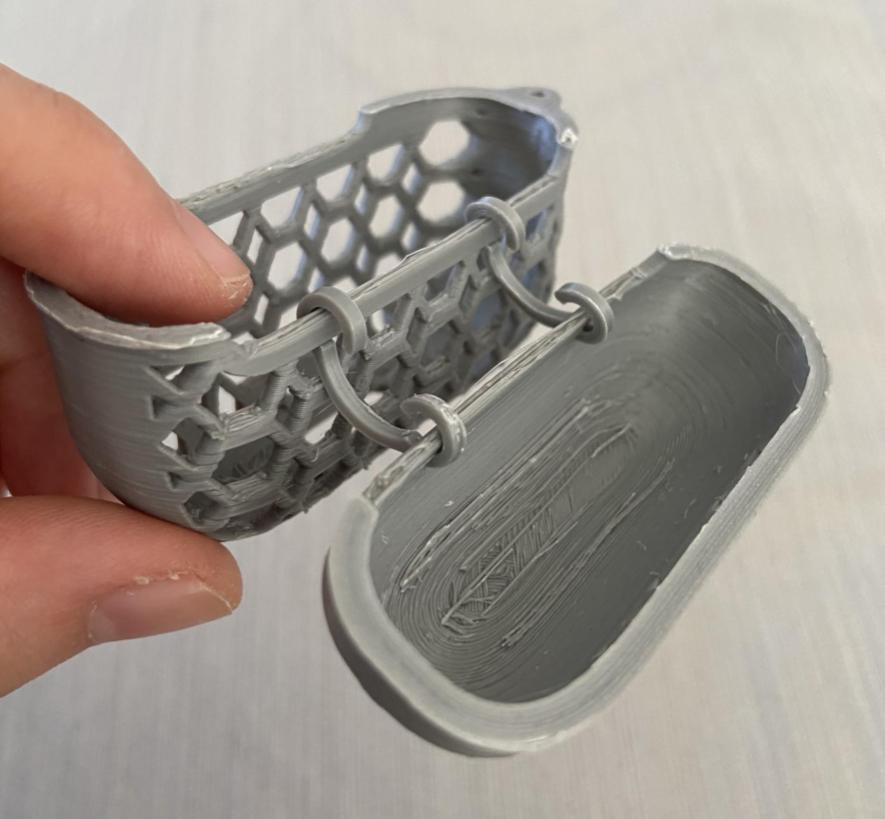
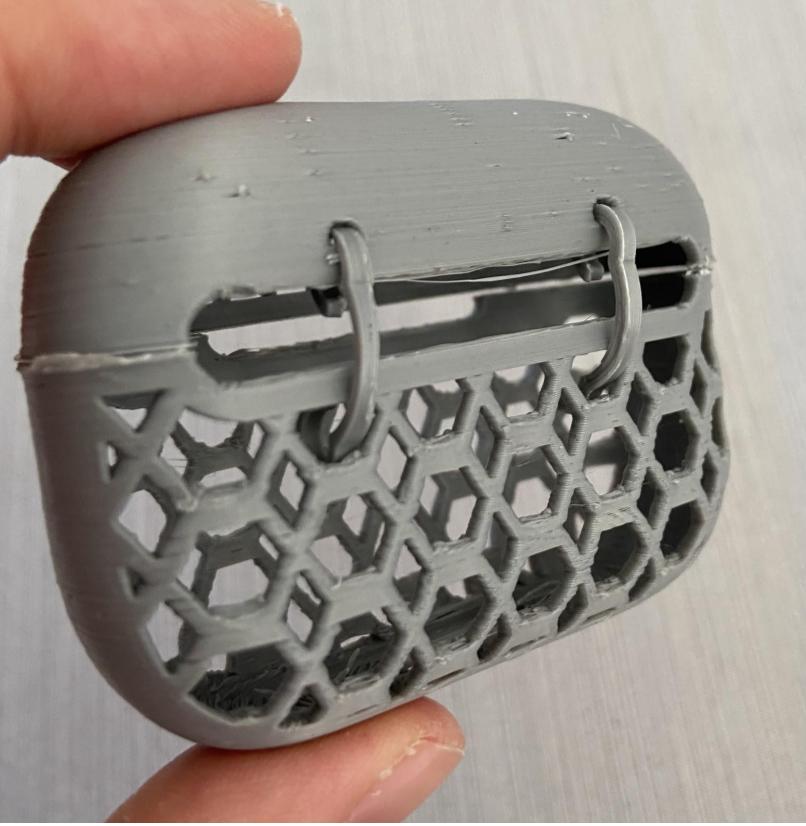
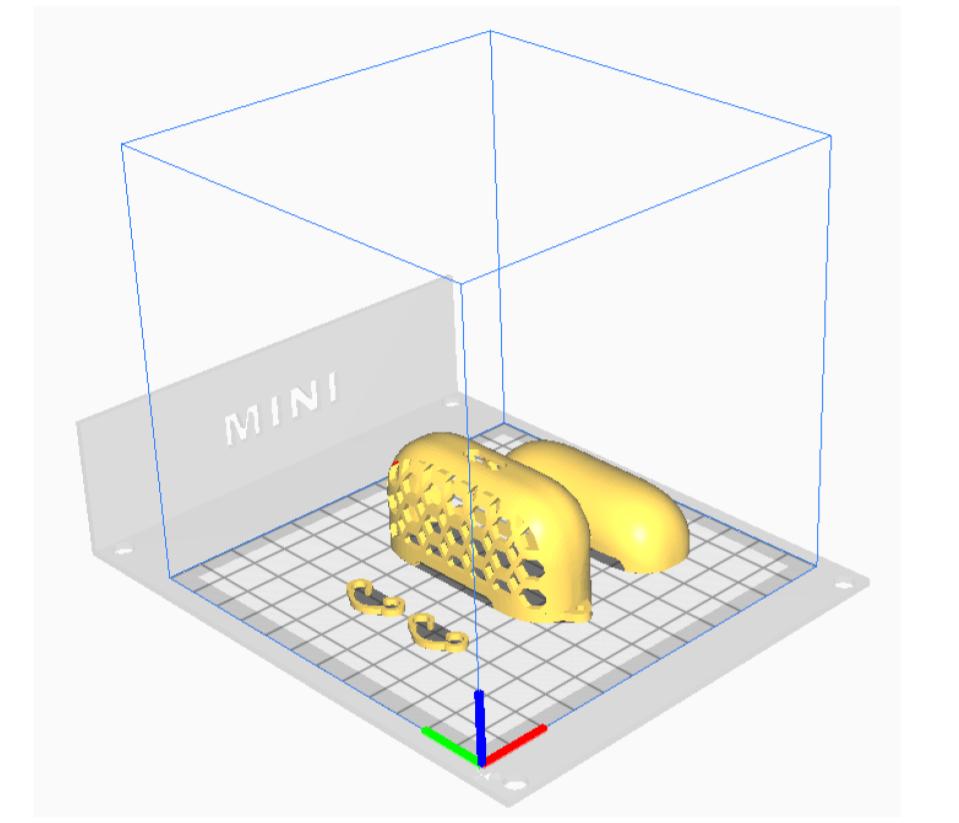
In the final iteration, the letter L in the name cutout was redesigned so there was no significant overhang. Besides that, changes were only made to the print settings: the print speed was slowed down to 40 mm/s, retraction distance was increased slightly to 3 mm, and the Z-seam setting was adjusted so that it is user-specified. I specified the seams to be closest to the coordinate (0,0) on the build plate, so the seams would be inside. The overall print took 4.5 hours but the result was much cleaner finishes.
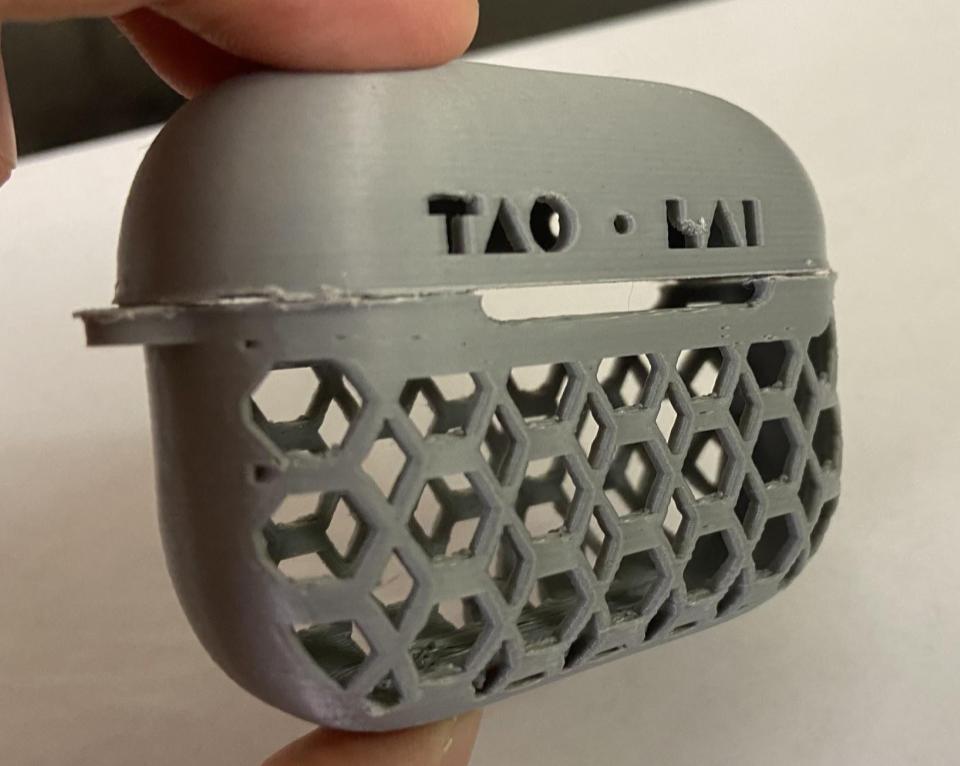
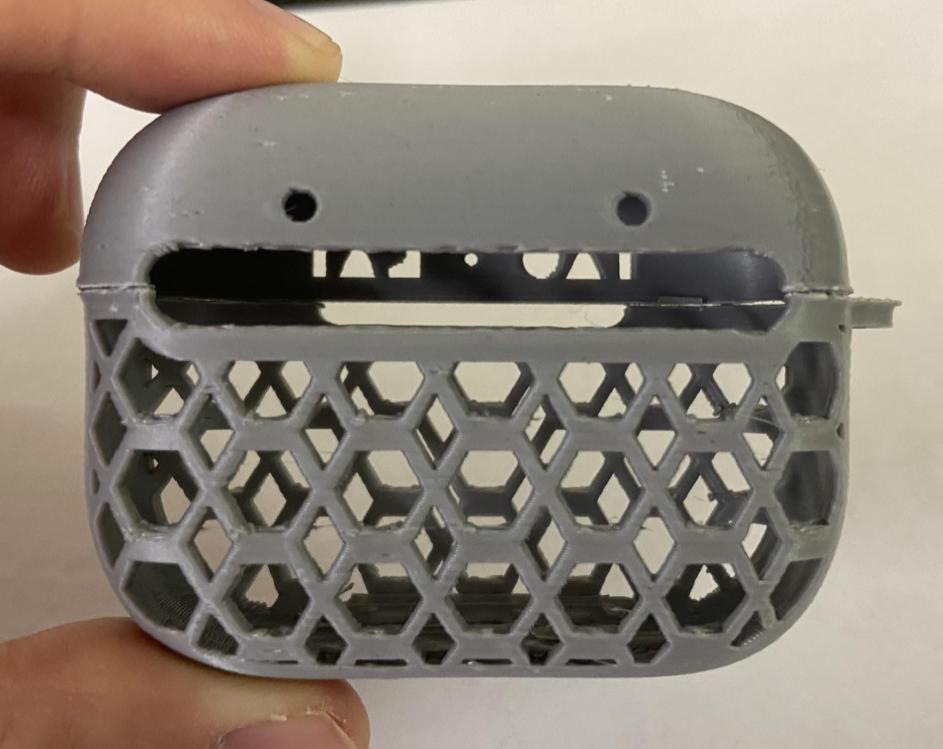
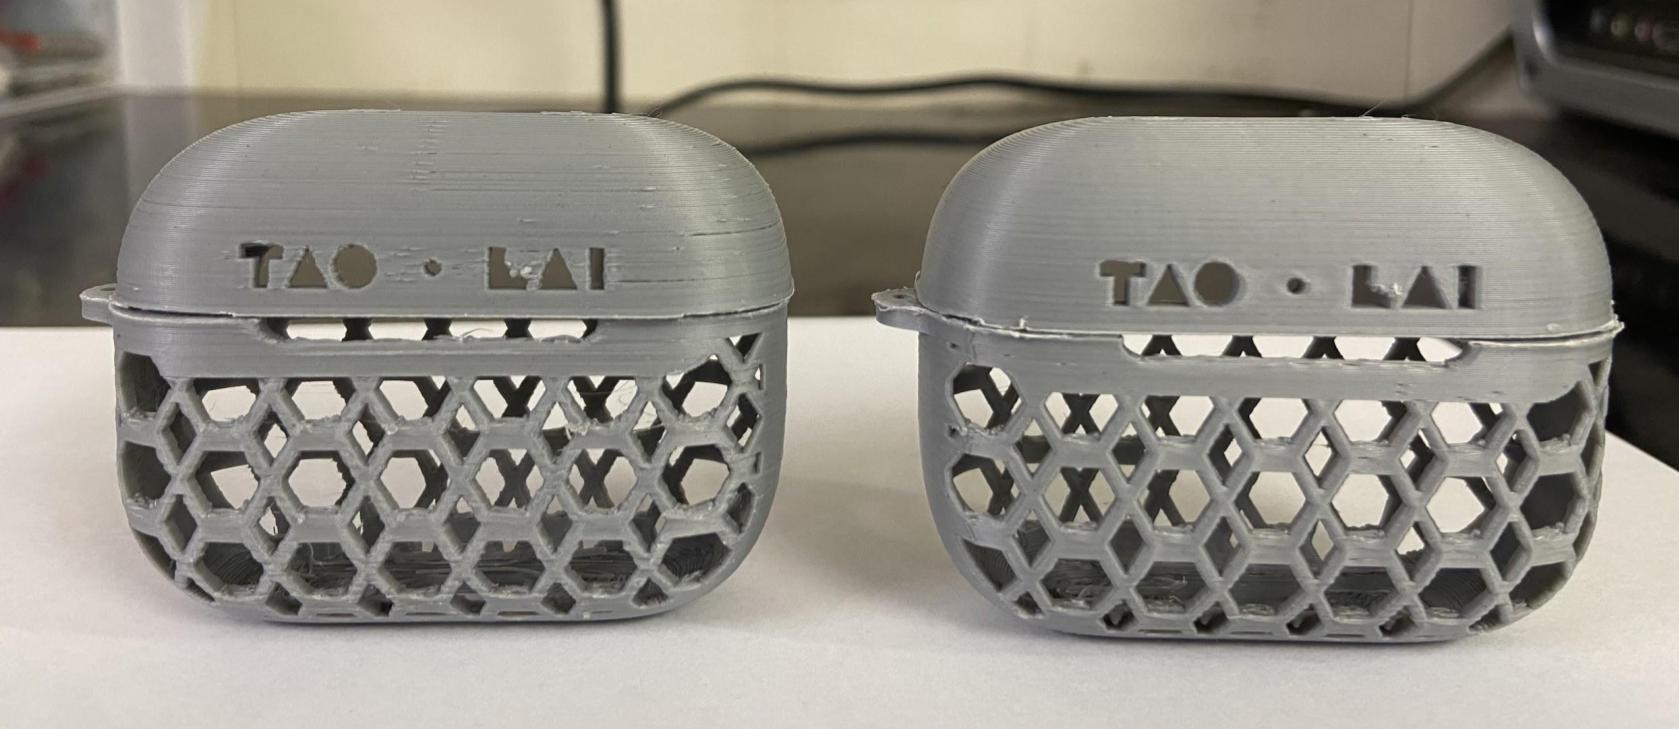
There are still many improvements that can be made to the design and the printing. For example, the fit can be adjusted further, especially for the top part: This can be done by fine-tuning the dimensions, including a rubber lining, and/or adding small, thin tabs to prevent the top part from falling off. The print settings can also be fine-tuned by playing around with speed, temperature, Z-seam settings, etc. Stronger, flexible materials should be considered to improve the mechanical properties of the case. Last but not least, I can test with more users with more questions, and see how the design holds over time.
Back to the top